Completing a User Profile
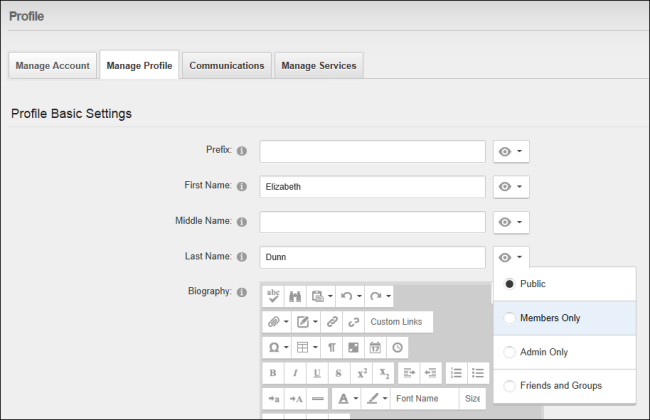
Users can modify the personal details displayed on their profile including their name, contact details, biography, photo, time zone and preferred locale. Users can manage the privacy level of their profile by modifying the Visibility  setting displayed beside each field. In the default set-up, all name fields (Prefix, First Name, Middle Name, Last Name and Suffix) and the Photo field are set as visible to the Public and all other fields are set as visible to Only. The available privacy levels are:
- Public: The field is visible to any site visitor or member who can view this user profile.
- Members Only: The field is visible to all authenticated site members.
- Only: The field is only visible to Administrators.
- Friends and Groups: The field is visible to the users' friends and the members of the social groups they belong to. This can be further refined by select either Friends or Followers.
Here's how to update a user profile:
- Login to the site. See "Logging into a Site"
- Navigate to the user profile page by clicking on your [Display Name] which is located in the top right corner of the site.
- Click the Edit Profile button.
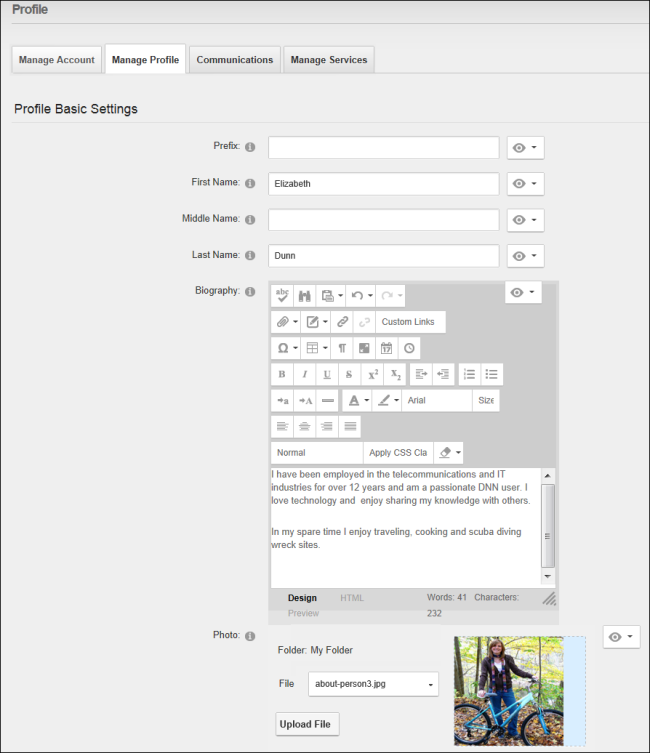
- Go to the Profile Basic Settings section of the Manage Profile tab and complete or edit any of the following fields and then select the Visibility for each field (see note above).
- In the Prefix text box, enter a prefix for the name. E.g. Mr.
- In the First Name text box, enter a first name. E.g. James
- In the Middle Name text box, enter a middle name. E.g. A
- In the Last Name text box, enter a last name. E.g. Woolworth
- In the Biography , enter a biography.
- At Photo, select, upload or remove a photo or image for this profile. See "Managing Profile Photos"
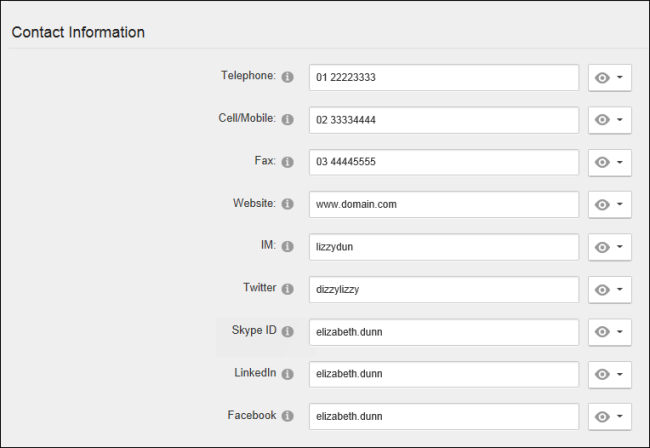
- Expand the Contact Information section.
- In the Telephone text box, enter your telephone number.
- In the Cell/Mobile text box, enter your mobile number.
- In the Fax text box, enter your facsimile number.
- In the text box, enter your web site URL. E.g. www.awesomecycles.biz
- In the IM text box, enter your instant messenger id. E.g. j.woolworth@awesomecycles.biz
- In the Twitter text box, enter your twitter account name. This information will automatically be captured when logging in with your Twitter account, however it is only visible to Administrators by default.
- In the Skype ID text box, enter your Skype account name.
- In the LinkedIn text box, enter your LinkedIn account name.
- In the Facebook text box, enter your Facebook name. Your Facebook name is automatically captured if you login using your Facebook account, however it is only visible to Administrators by default.
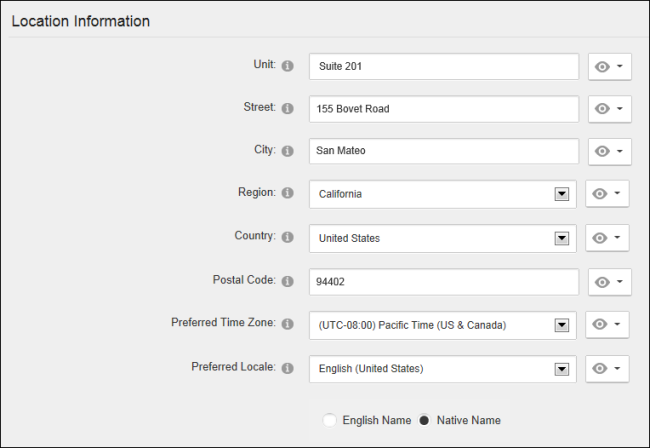
- Expand the Location Information section.
- In the Unit text box, enter a unit number. E.g. Suite 36
- In the Street text box, enter the street address. E.g. 3457 W. Somewhere Street
- In the City text box, enter the city. E.g. Someplace
- In the Region text box, enter/select the region. E.g. CA. Note: If Canada or United States of America will be selected as the country, select the Country before selecting a Region to populate the Region field.
- At Country, select a country from the drop down list. United States
- In the Postal Code text box, enter/select the postal code.
- A Preferred Time Zone, select your preferred time zone.
- At Preferred Locale,
set the following:
- Select English Name to display your locale in English (E.g. Italy) - OR - Select Native Name to display the native spelling of your locale (E.g. Italia)
- Select the name of your preferred locale from the drop down list. Note: To manage the list of available locales, See "Enabling/Disabling a Language".
- Click the Update button.
Tip: Administrators can modify the fields displayed on the Manage Profile page. See "Configuring Profile Settings" and See "Adding a New Profile Property"
Open topic with navigation